Tools required to complete the installation.
- Stanley Knife or similar
- Byretech sealant Removal tool
- Tape measure
- Sealant gun
- Fugi II Silicone applicator
- Kitchen roll to wipe fingers
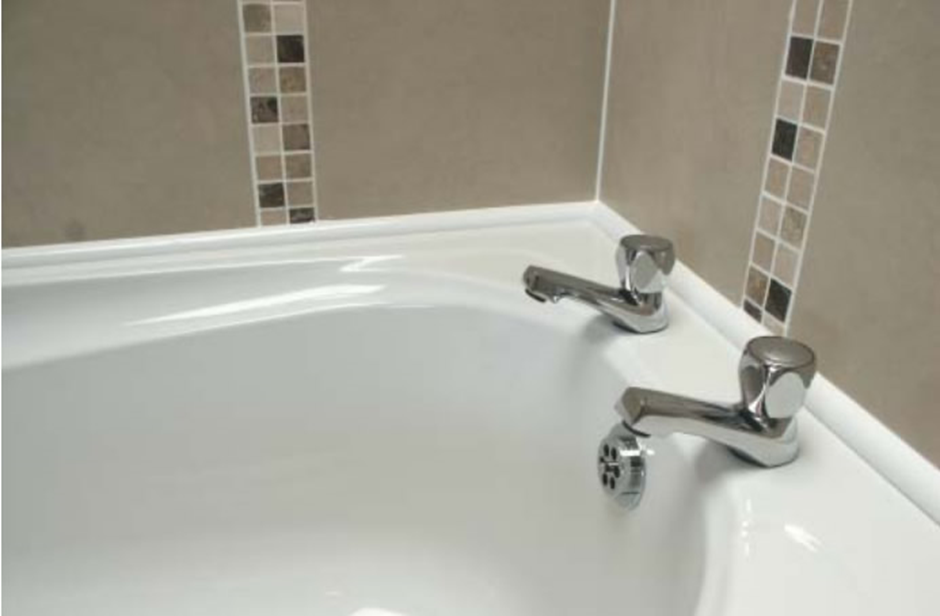
BathSeal Ultra 10 – Step 1

Measure length of bath and transfer measurement to 2m profile – Mark and cut to length by scoring and snapping profile – lay on bath “dry”
BathSeal Ultra 10 – Step 2

Take the appropriate 1m profile and fit it to the long profile behind taps – Mark to size – Cut and fit “dry” – Repeat with remaining profile
BathSeal Ultra 10 – Step 3

Clean Profile – Fit the long length 1st – Add generous silicone with large nozzle – Fit profile and remove excess with Fugi 2 or finger – Now fit end pieces
BathSeal Ultra 10 – Step 4

Change to fine nozzle – Seal in top and bottom of profile with silicon – Fit End Caps – Use Fugi 2 to remove excess silicone – Leave to Set ( 4 Hours )
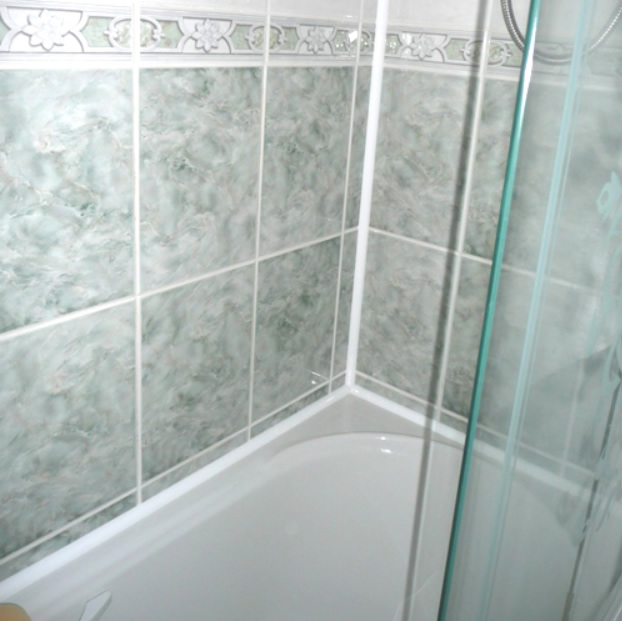
BathSeal Ultra 10 – Final Result
Change to fine nozzle – Seal in top and bottom of profile with silicon – Fit End Caps – Use Fugi 2 to remove excess silicone – Leave to Set ( 4 Hours )
- Suitable for rectangular baths
- smaller than 2m x 1m
- Suitable for corner baths
- smaller than 2m x 2m